
How to Prepare Your Garage Floor for Epoxy: The Step That Makes or Breaks Your Coating

Jimmy Miller • June 21, 2026

Preparing a garage floor for epoxy starts with cleaning, repairing, and mechanically profiling the concrete so the coating can actually bond. Surface preparation is the single biggest reason a coated floor lasts or fails. KY Epoxy Flooring treats prep as the foundation of every garage floor coating, because even a premium product peels on a slab that wasn't ground, cleaned, and checked for moisture first.

In this article, we explain why preparation matters more than the product label, what a professional prep process looks like in a Kentucky garage, and what you can do before installation day to help ensure a successful installation and long-lasting performance.

Why Preparation Matters More Than the Coating Label

Many failed garage floors share the same story: the product looks great initially, but soon peels near tires, lifts at cracks, or flakes off over hidden oil spots. The root cause almost always traces back to what happened before the first layer of coating was ever applied.

  • Hidden Contaminants: Raw concrete easily absorbs oil, tire residue, dust, old curing compounds, and moisture.
  • The Road Salt Danger Zone: Kentucky road salt heavily concentrates right near the garage door threshold—the exact spot where most coating failures begin. In a Stanford garage facing Lincoln County's harsh winter freeze-thaw cycles, this entry strip requires intensive cleaning to prevent the coating from bonding to salt residue instead of the concrete.
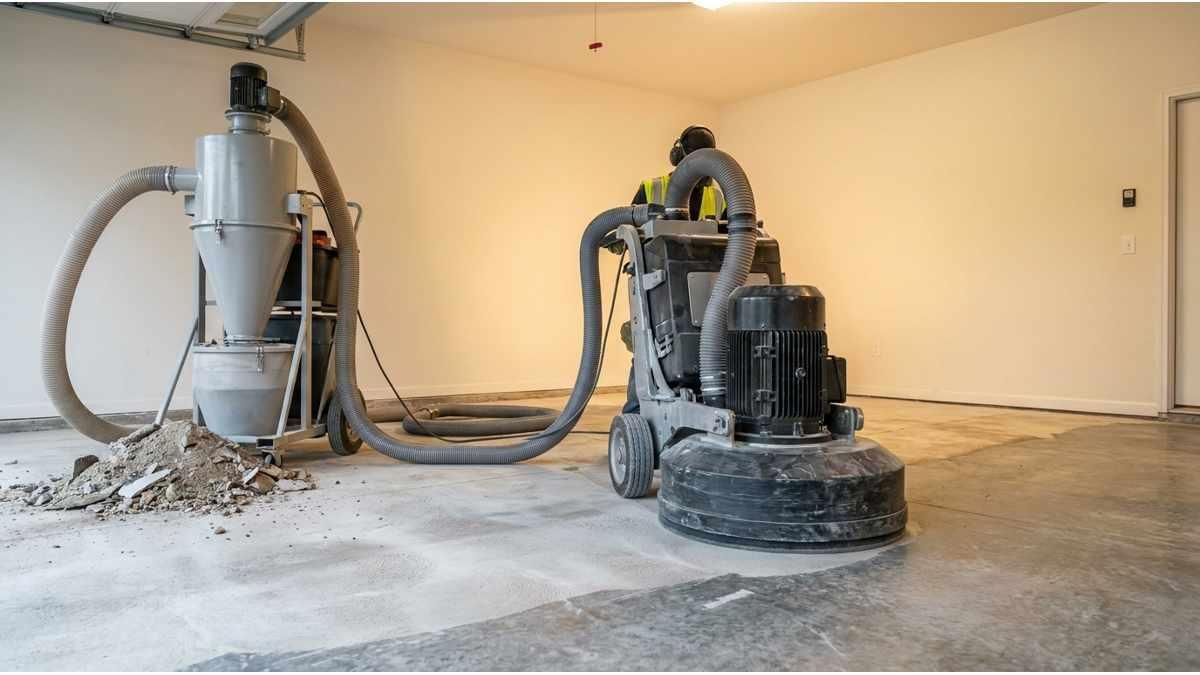
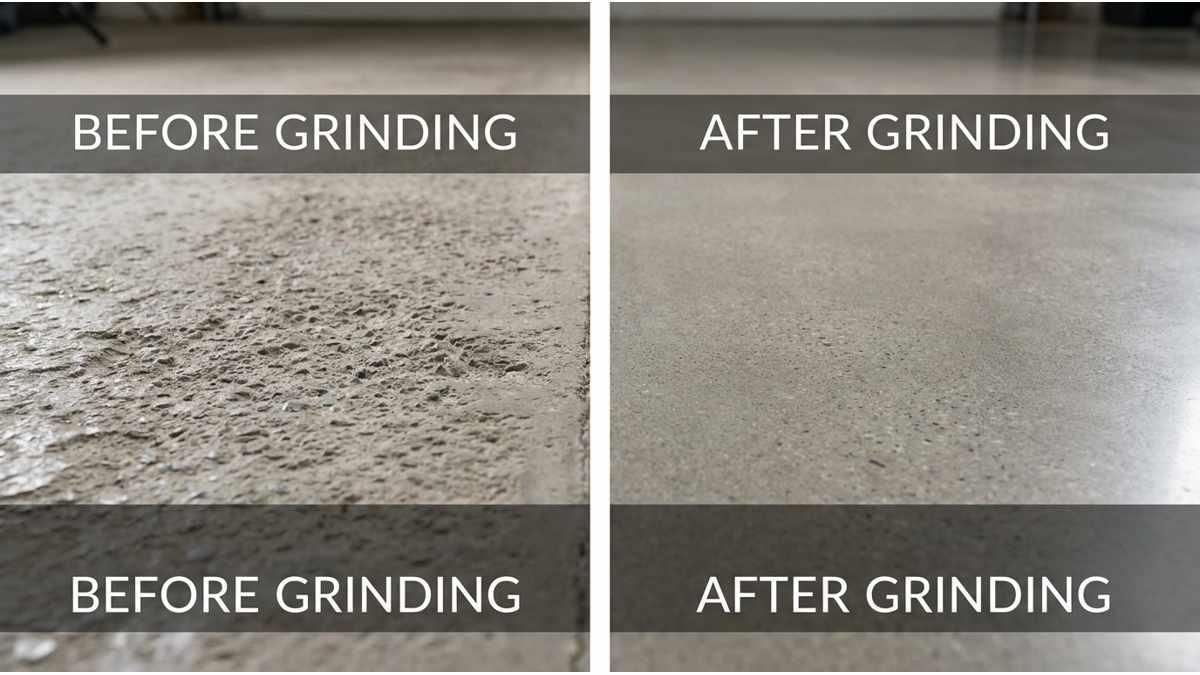
  • Grinding vs. Acid Etching: Professional diamond grinding mechanically removes weak surface material and creates a rough profile optimized for permanent adhesion. DIY acid etching cannot match this profile and frequently leaves behind trapped moisture or chemical residues.
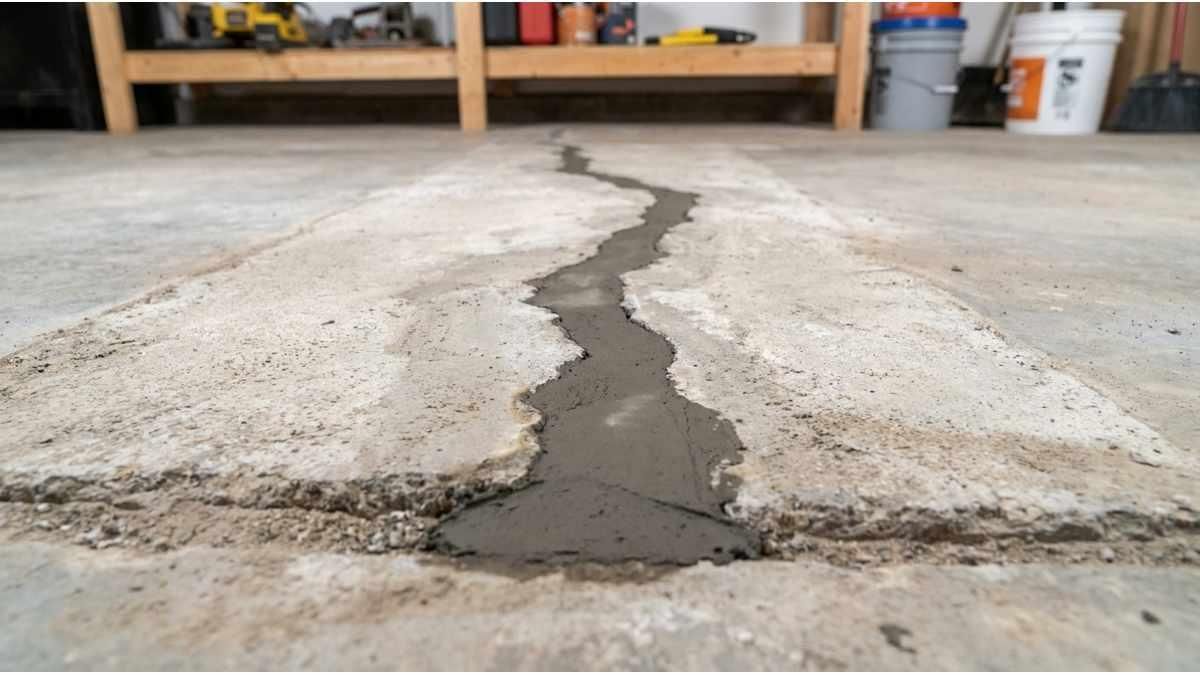
  • Exposing Structural Flaws: Proper mechanical preparation reveals hidden cracks, spalls, and soft concrete. Coating over these defects without repairing them first ensures they will reappear as visible flaws later.

Professional Prep Steps for a Kentucky Garage

A professional installation relies on a strict, multi-step preparation sequence to guarantee the floor handles local climate demands:

  1. Slab Evaluation: The crew inspects the garage for hidden moisture, structural cracks, deep oil stains, and previous failing coatings.
  2. Mechanical Profiling: Heavy-duty diamond grinders open up the concrete pores while specialized dust-collection systems keep the property clean.
  3. Defect Repair: Installers prep, clean, and patch all open cracks, divots, and damaged control joints with high-strength polymer fillers.
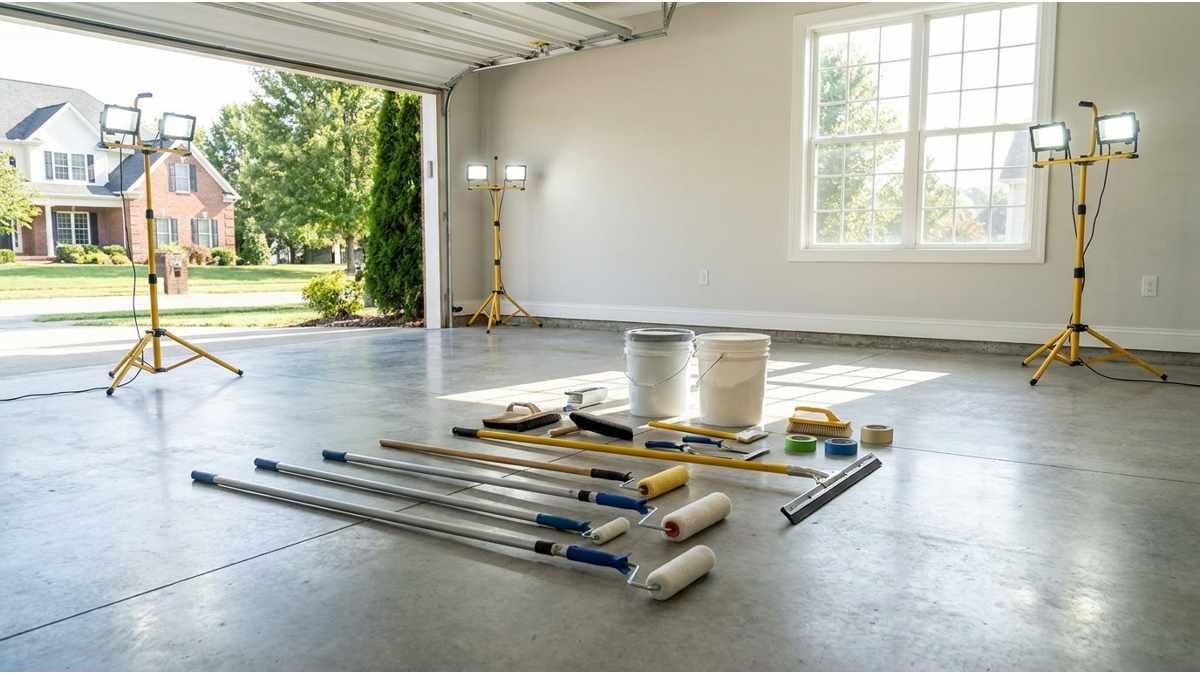
  4. Final Clean: The entire surface is thoroughly vacuumed and cleared of micro-dust immediately before coating application begins.

The Professional Difference

When comparing retail options, homeowners should evaluate diy vs professional epoxy garage floor systems. The primary difference is the commercial-grade surface preparation and the thickness of the product build.

KY Epoxy Flooring leverages over 10 years of local expertise as a veteran-owned, family-operated, BBB-accredited contractor. While we offer rapid 1-day coating systems when slab conditions allow, comprehensive prep and curing typically require a 2- to 3-day window. This thorough process directly protects your investment, allowing qualifying residential systems to carry a 20-year warranty.

What Homeowners Should Do Before Installation

To support a seamless installation and keep your return-to-service schedule on track, complete these preparation steps before the crew arrives:

  • Clear the Space: Completely empty the garage. Move all vehicles, storage bins, tools, and wall-hanging items out of the work zone.
  • Disclose Slab History: Point out past oil spills, water leaks, areas that stay damp, or spots where winter road salt heavily accumulates. Accurate history determines the right prep strategy.
  • Keep the Concrete Dry: Do not wash or pressure-wash the garage floor right before the installation date. Introducing extra water into the slab creates severe chemical curing delays.
  • Avoid Chemical Treatments: Do not apply store-bought patch materials, chemical cleaners, or hardware-store sealers before the project, as these products chemically interfere with coating adhesion.
  • Secure Alternative Parking: Plan an alternative parking setup for your vehicles. Standard epoxy typically requires at least 24 hours just to reach its initial light foot-traffic cure milestones.

Frequently Asked Questions

Do I need to grind concrete before epoxy?

You must mechanically grind concrete before applying an epoxy coating in almost all professional garage floor installations to ensure a permanent chemical bond. Diamond grinding opens up the concrete's tightly sealed pores, levels out uneven surface variations, and strips away a microscopic layer of weak, contaminated, or brittle material that would otherwise cause the new coating to peel.

Can epoxy go over old garage floor paint?

An epoxy floor coating cannot be reliably applied over old garage floor paint without first removing the existing layer or performing strict adhesion patch tests. If a high-performance polymer coating is rolled directly over old retail paint, the strong chemical bond will pull up the weaker underlying paint layer, causing the entire new floor system to delaminate and fail.

What should homeowners do before installers arrive?

Homeowners must completely clear all personal belongings out of the garage, sweep away loose debris, and explicitly share any history of slab moisture or oil spills with the contractor before installers arrive. Additionally, property owners must avoid applying any last-minute topical retail sealers or harsh chemical cleaners to the concrete and strictly follow all contractor access and vehicle parking timelines.

Prep Is Where the Coating Is Won or Lost

A durable garage floor begins before the first coat, on a slab that's been ground, repaired, and cleaned right. That's the step DIY kits skip and the reason their coatings peel. It's also why a qualifying KY Epoxy residential system can carry a 20-year warranty: the prep underneath earns it.

To talk through slab prep for your Kentucky garage, reach out to KY Epoxy Flooring at (859) 749-3449 .

By Jimmy Miller June 29, 2026
Master commercial epoxy floor maintenance. Protect your Kentucky business with our expert tips on daily cleaning, safe chemicals, and bi-annual inspections.
By Jimmy Miller June 25, 2026
Explore concrete patio resurfacing ideas for Kentucky homes, from coatings and overlays to slip-resistant textures and decorative finishes.
By Jimmy Miller June 18, 2026
Compare concrete sealer types, including penetrating, acrylic, and epoxy sealers, and learn which option fits Kentucky concrete conditions.
By Jimmy Miller June 15, 2026
Compare the best flooring for wet basement spaces in Kentucky, including epoxy, vinyl, tile, sealed concrete, and carpet tile options.
By Jimmy Miller June 10, 2026
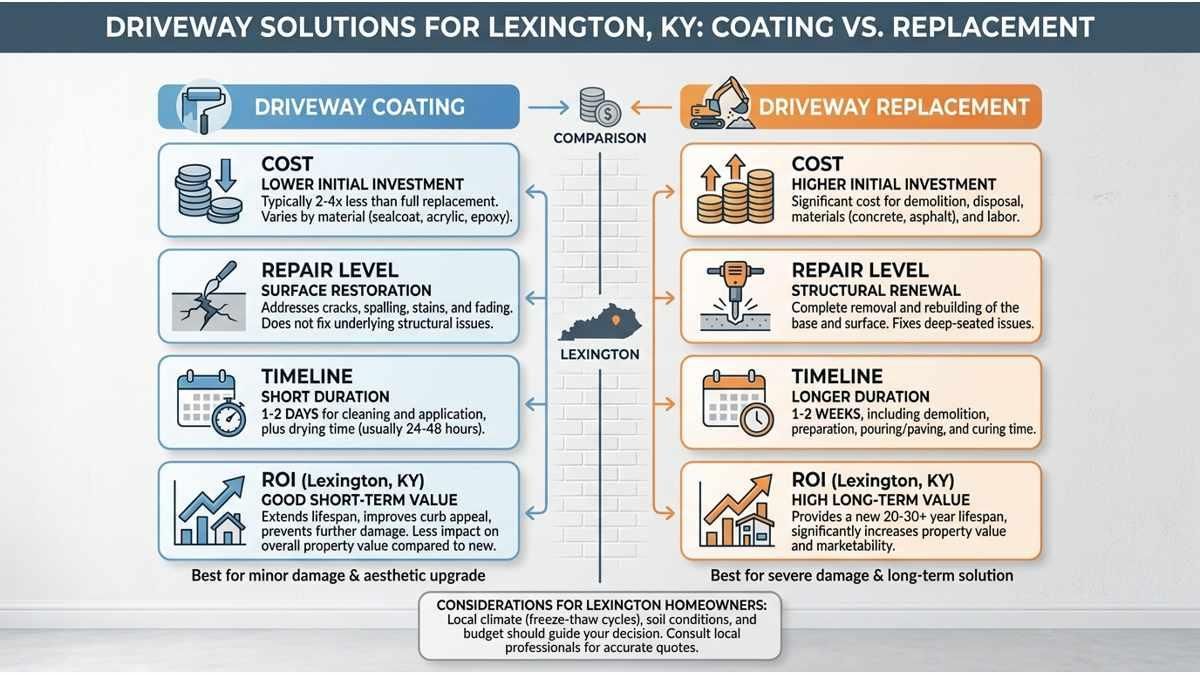
Compare driveway coating vs replacement for Lexington homes, including cost factors, repair limits, curb appeal, and long-term ROI.
By Jimmy Miller June 6, 2026
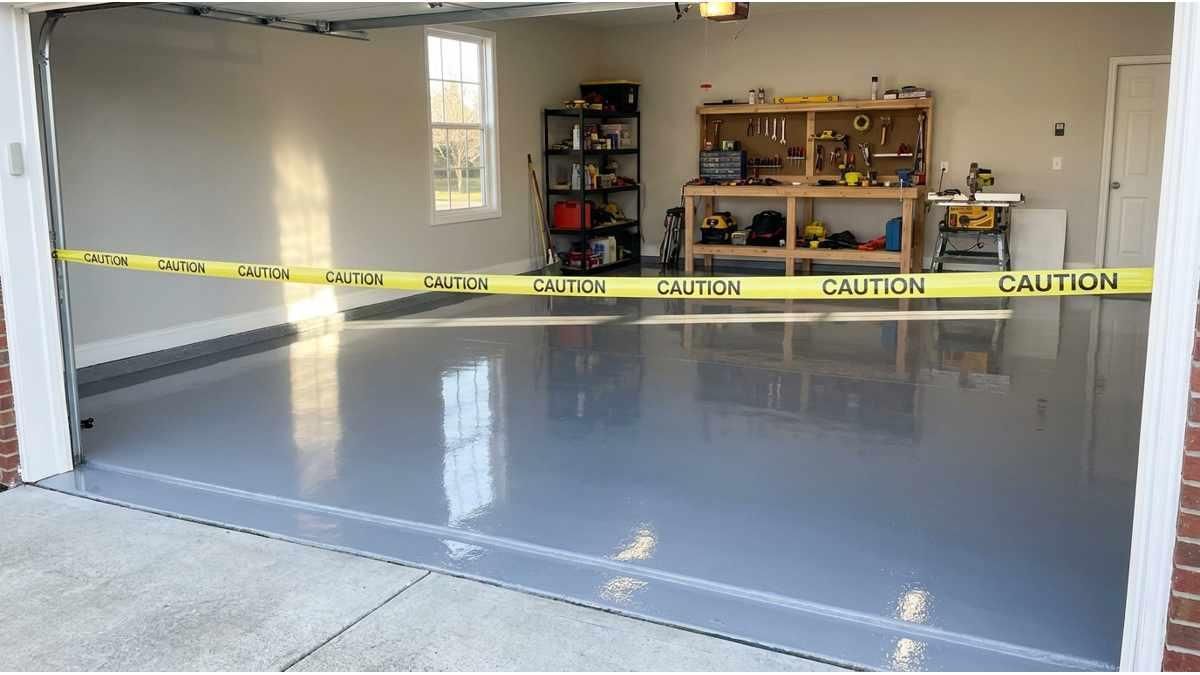
Understand epoxy floor cure time, dry time, foot traffic timing, vehicle timing, and Kentucky weather factors before coating your garage.
By Jimmy Miller June 3, 2026
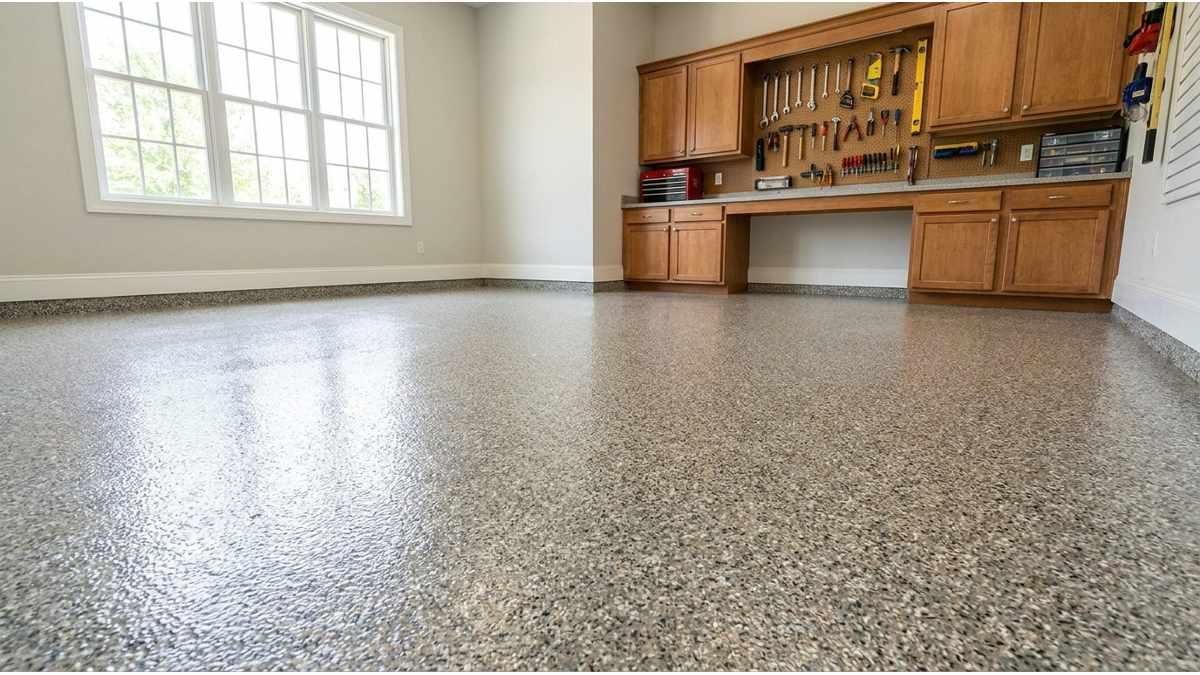
Learn how long epoxy flooring lasts in Kentucky weather, what affects durability, and when to call KY Epoxy Flooring for garage coating help.
By Jimmy Miller May 29, 2026
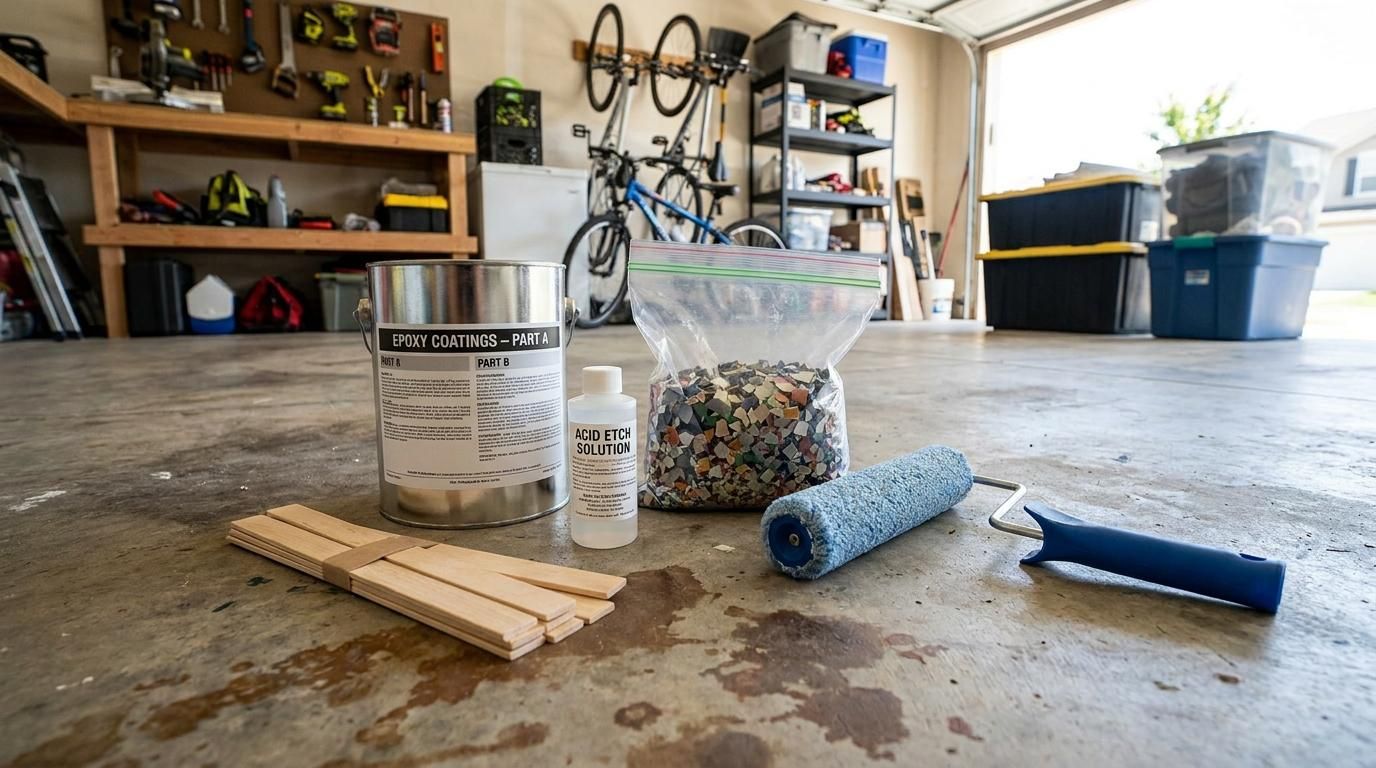
Compare DIY epoxy garage floor kits to professional installation in Kentucky. Learn about costs, preparation methods, cure times, and long-term durability.
By Jimmy Miller May 25, 2026
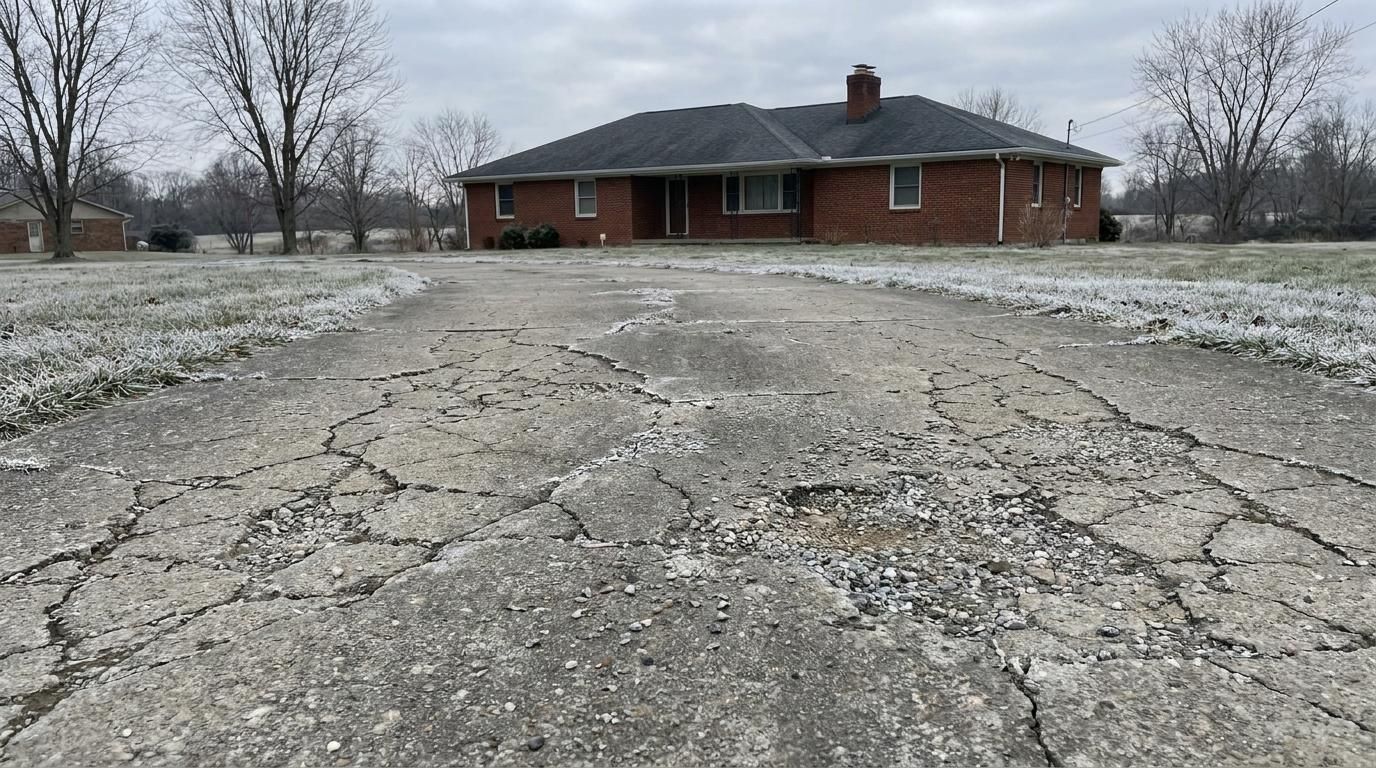
Choose the best concrete sealer for your Kentucky driveway. Compare penetrating vs. topical sealers, costs, & reapplication schedules for freeze-thaw climates.
By Jimmy Miller May 21, 2026
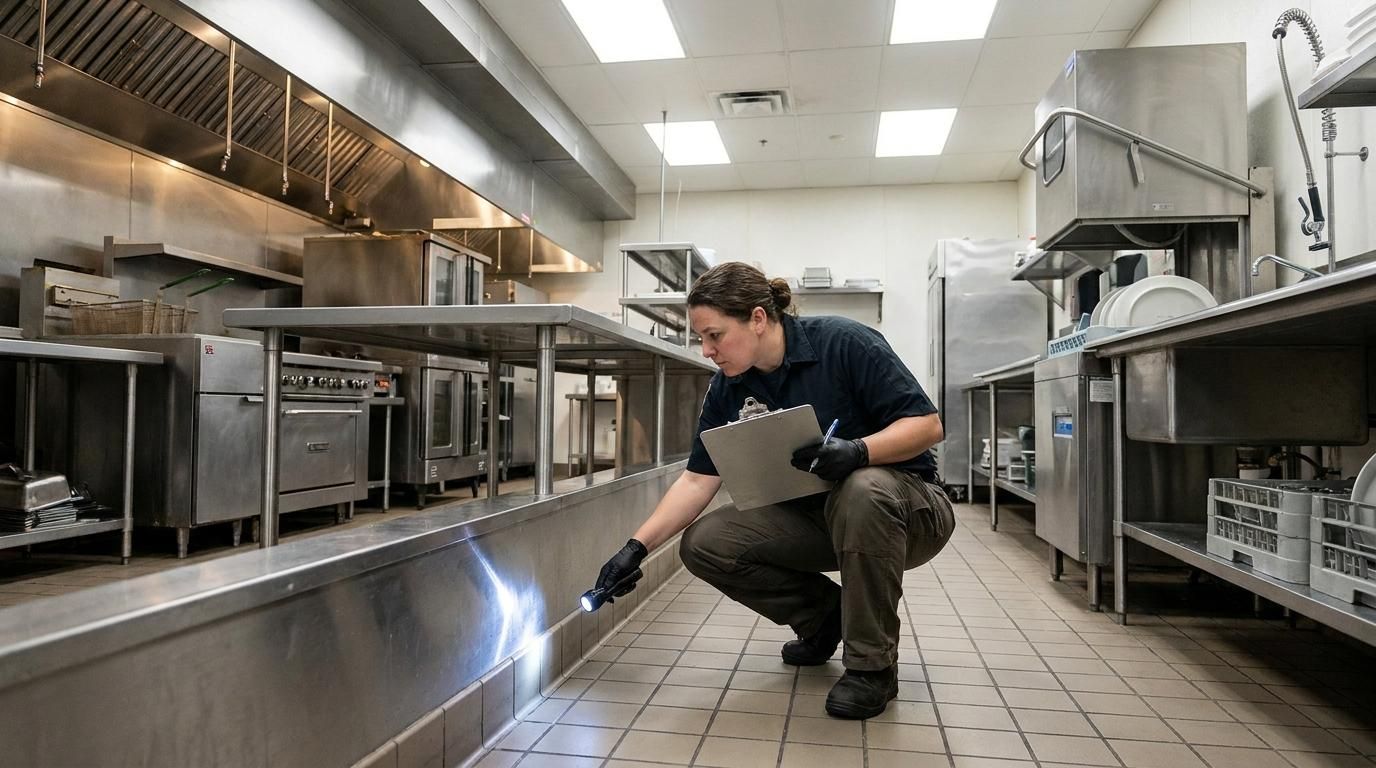
Learn how epoxy flooring helps restaurants meet Kentucky health codes. Read about food safety, durability, after-hours installation, and commercial warranties.
Show More